How to
Accept Web3 Cryptocurrency Payments on Shopify
Jun 02, 2022
3. Connect wallet and login
Click "Wallet Login" and connect your Web3 wallet.
Then click "Log in" and sign the login message within your wallet.
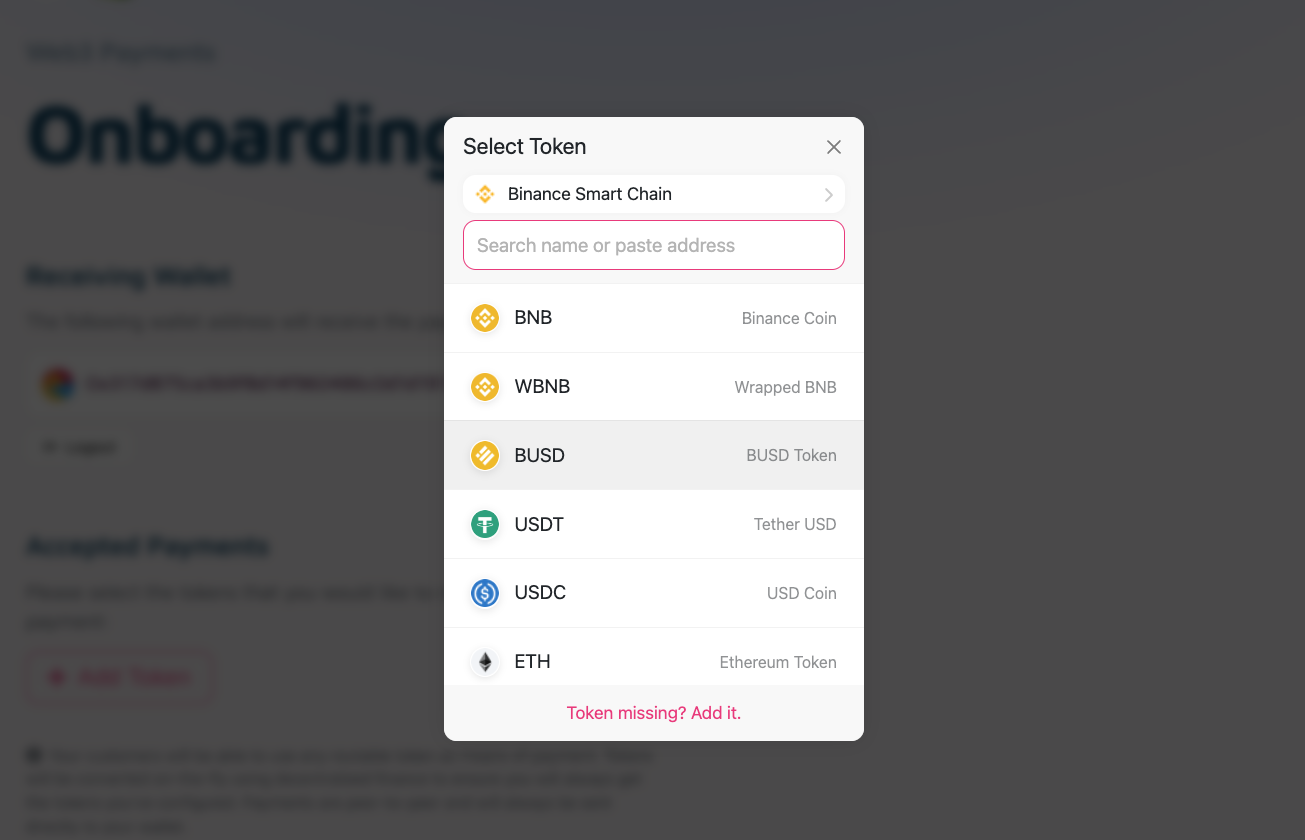
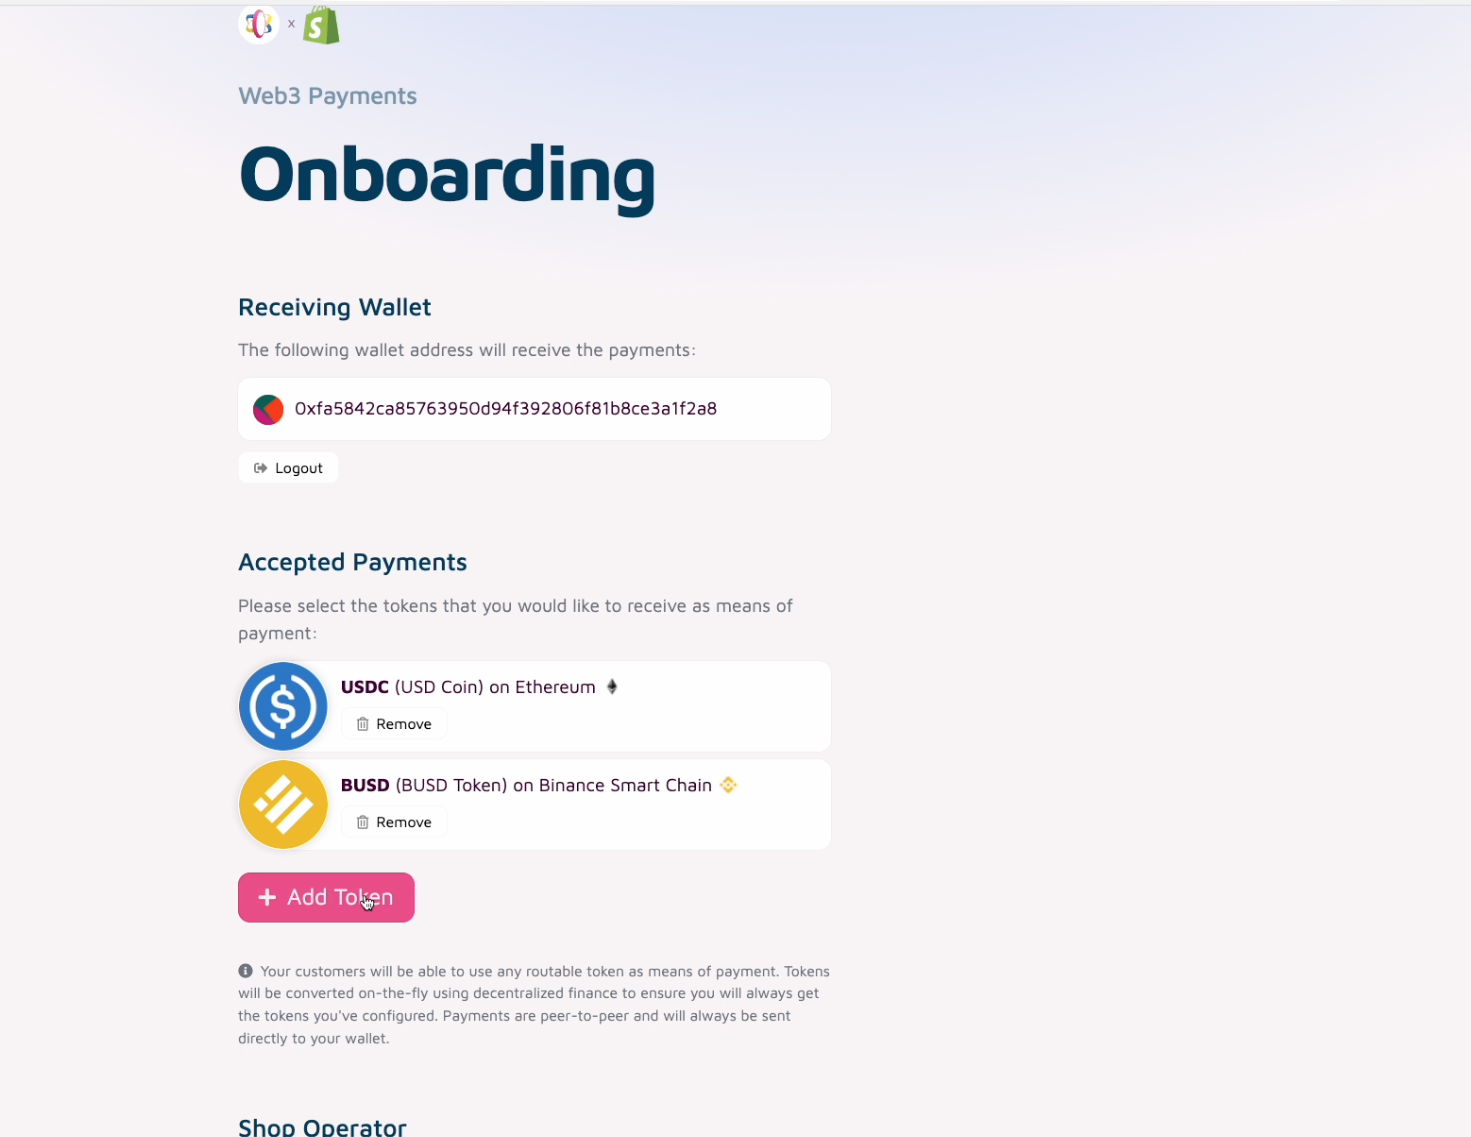
4. Select tokens / Set Accepted means of payment
Now select which tokens (on which blockchains) you want to receive as means of payment.
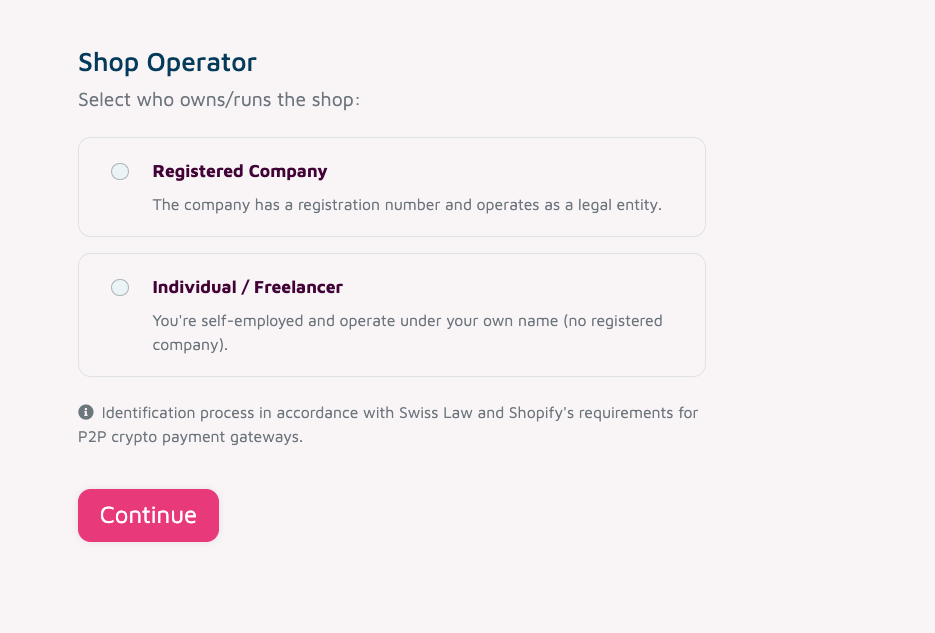
5. Provide Shop Owner Data
Now select who owns/runs the shop.
Select "Registered Company" if your company is a registered legal entity.
Otherwise select "Individual" if you own/run the shop personally.
Then click "Continue"
Then provide all required information.
Make sure to click "Save & Continue" at the end.
6. Wait for verification
Now wait until your data has been verified.
Please be patient, this can take some time and we will send you an email as soon as the verification succeeded.
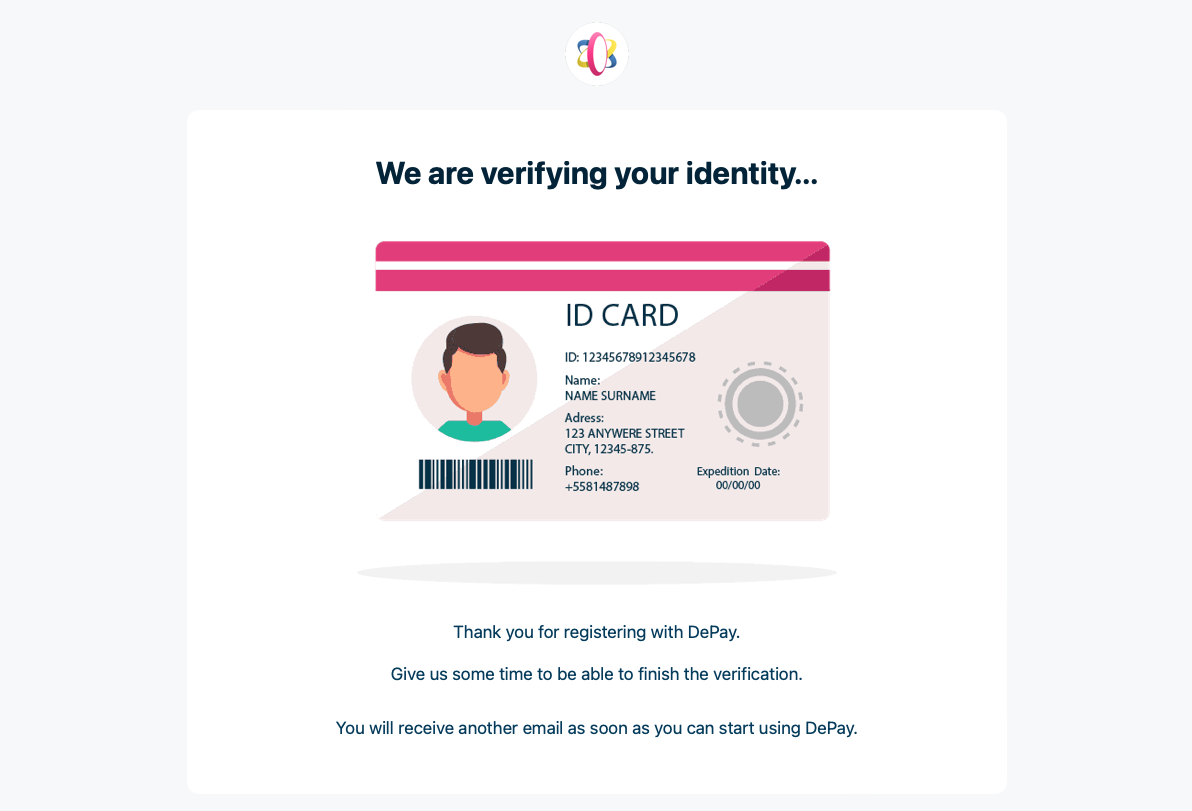
7. Approval E-Mail
Once we have verified your information you will receive an approval e-mail immediately.
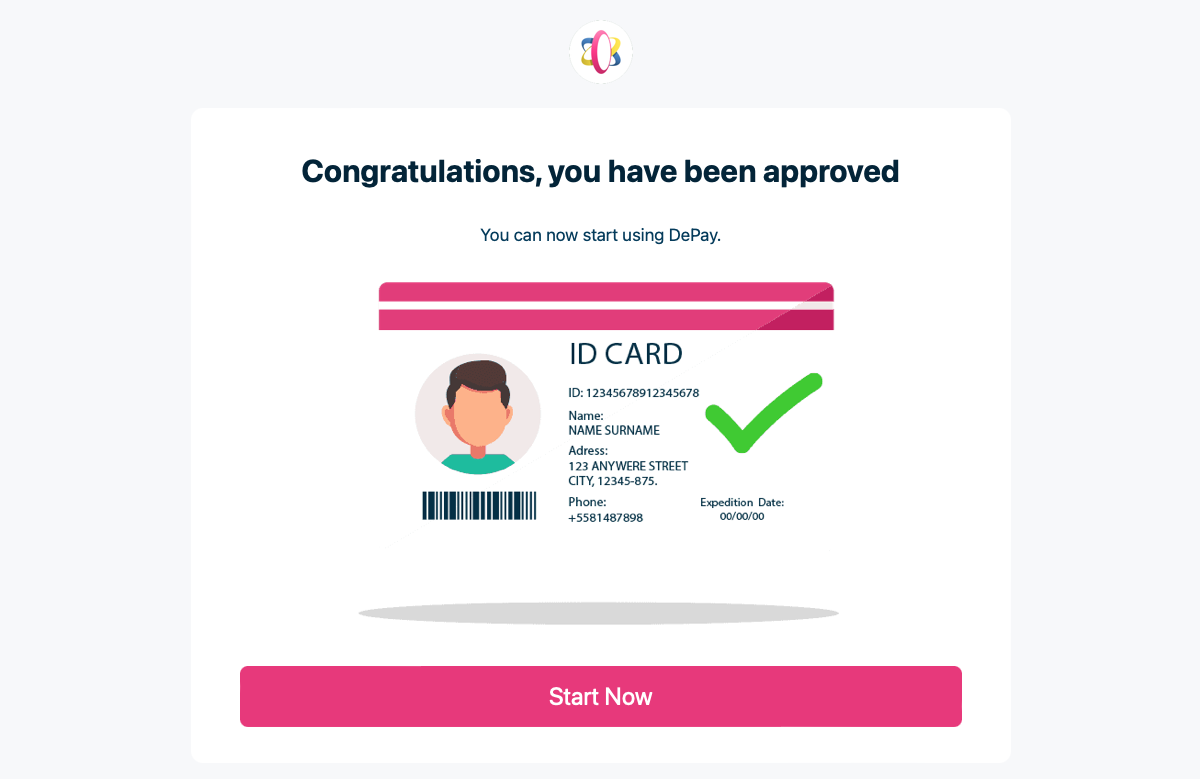
8. Activate DePay App
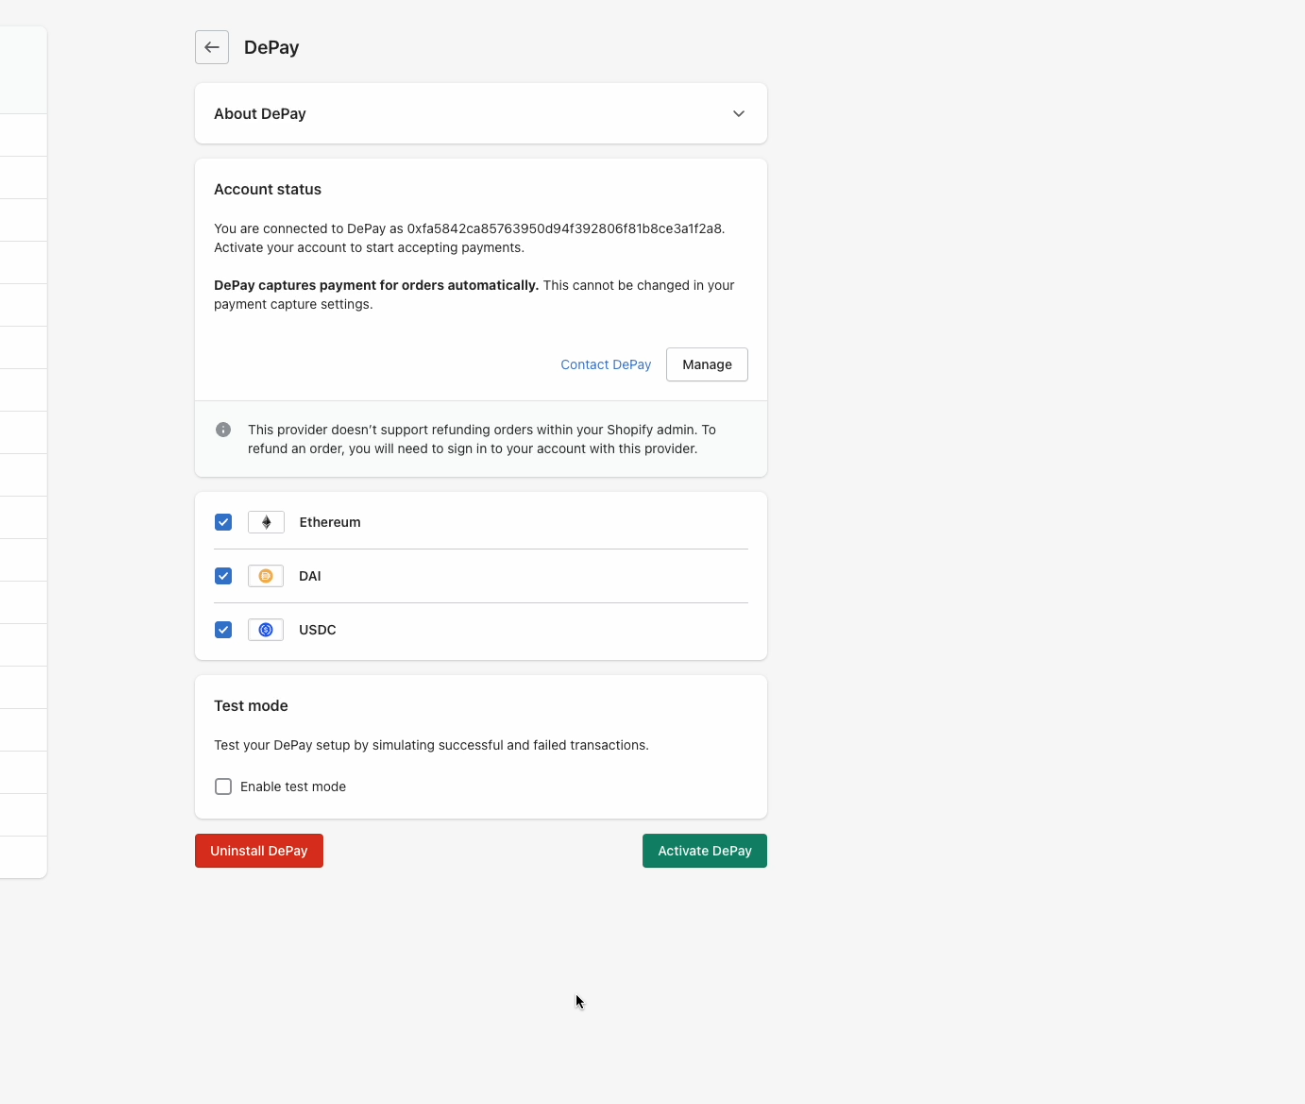
Now within your approval e-mail you will find a "Start Now" link to activate DePay on Shopify.
Follow the link and make sure you click "Activate DePay".
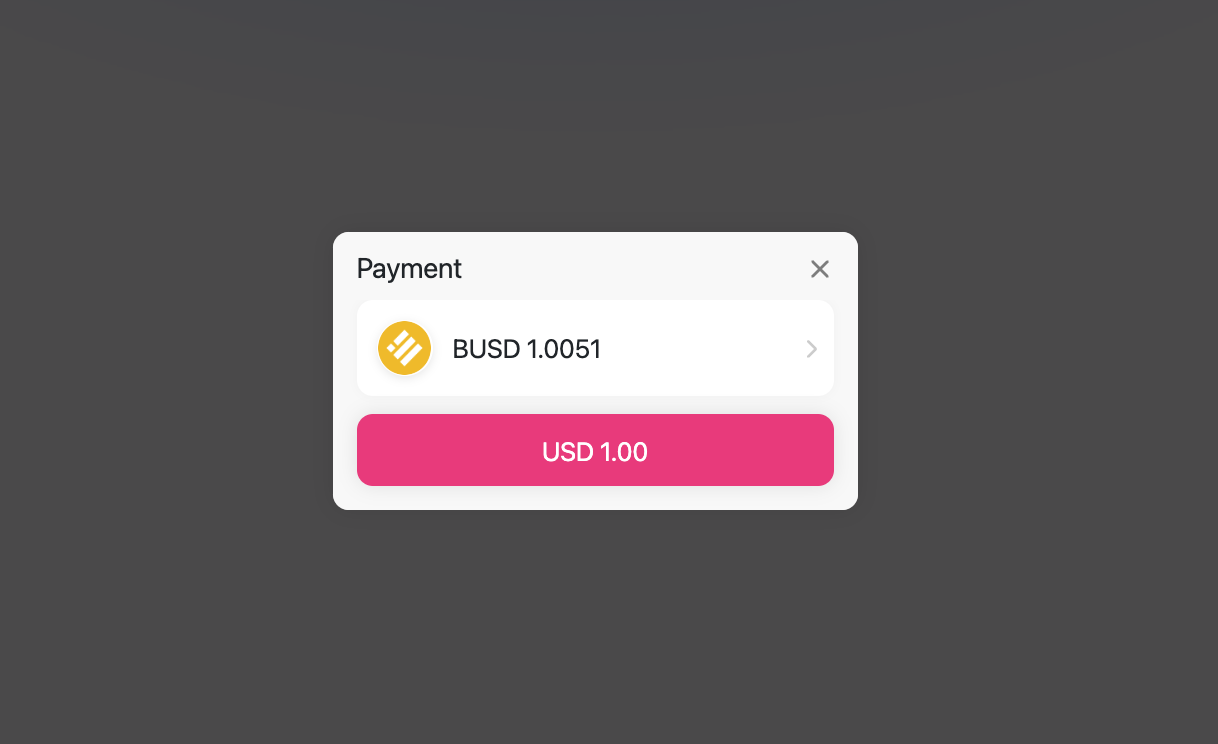
9. Payment Experience
Now your customers can send you payments directly into your Web3 wallet.
Payments are converted automatically (using DeFi) to make sure you always receive the tokens on the blockchains that you've configured.
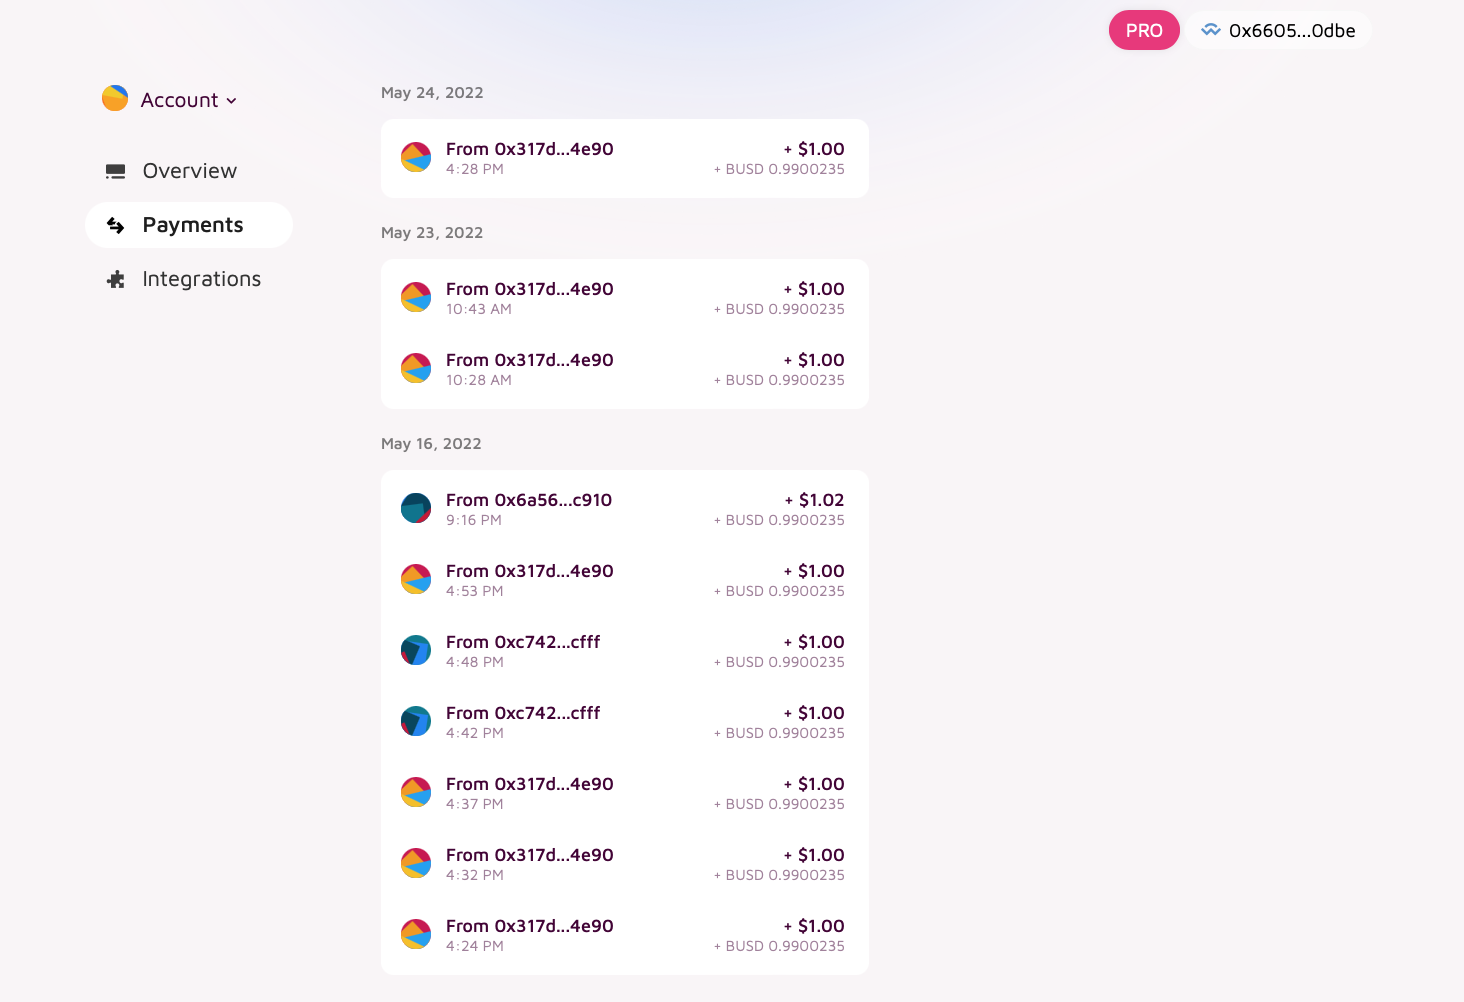
10. Browse received payments
If you want to browse received payments, you can visit DePay and launch the App by clicking on "Launch App".
Login with your wallet and navigate to "Payments".
Now you will see all payments your wallet has received with DePay.
11. Change configuration
If you need to change your DePay configuration, login to your Shop and click "Settings".
Now click "Payments".
On the DePay card click "Manage".
Within the DePay settings click "Manage" again.
Now you can change your DePay configuration like accepted payments, tokens and blockchains.
Feel free to reach out in order to get additional help:

